Showing posts with label Tips. Show all posts

Tuesday, 16 October 2018

Organising a Baby Shower

I’ve been doing a bit of blog admin recently, and realised I have numerous folders full of photos I’ve taken for blog posts, which I’ve never actually got round to writing. Whether it’s been that my health has got in the way or I had too much work on at Uni, they’ve just been left sitting there, which to me feels like a real shame (especially as I put so much time and energy into taking the photos in the first place!) So, as well as my goal to start uploading more new posts to my blog now that I’ve finished university, I also plan to dig some photos out of the archives and finally get my posts written to go alongside them. I’ll only share posts that are still relevant today (I don’t think there’s much point in me writing about a ‘new’ product launch that came out three years ago!) so hopefully you will still find my archive posts useful and interesting. And don’t worry – I also have plenty of new blog post ideas in mind, so I plan to do a nice mixture of old and new.

Today’s post that I want to share with you comes from photos I took about a year ago when my sister-in-law was still pregnant (can you believe ‘little’ Noah is now almost one!) Most of my friends and family know how much I enjoy planning and organising a good party, so when I was given the opportunity to arrange Lisa’s Baby Shower, I was over the moon! Pinterest soon became my best friend – I spent every spare minute I could find browsing pins for all sorts of Baby Shower related things (you can check out my Baby Shower board here) and things gradually started coming together. Obviously everyone’s tastes are different, so what we came up with may not be to everyone’s liking. But I thought I would share some of the things we did to make it a special day in case you’re just starting out with your planning and are feeling a little bit overwhelmed! 

Apart from sorting out the location (we booked a cosy room in a local church) the first thing I had to do was come up with some sort of theme for the party. We didn’t know baby’s gender at the time, so we wanted something neutral yet colourful and fun. Richard and Lisa had just had a beautiful mural of an elephant painted in the nursery, and so the idea of an elephant theme began. We complemented this with pastel rainbow shades to bring some colour to the event. Before we went any further, I wanted to check with Lisa if there was anything she either really wanted us to include or absolutely did not want to happen on the day. Luckily for me, she was fairly happy for us to go ahead with our own ideas, so it was able to be a nice surprise for her when she arrived on the day. The one thing Lisa did have a say over was the invite list – she sent over names and contact details so we could send out the invitations to the right people.


After a lot of planning and one or two minor breakdowns (!) things came together perfectly on the day. I was lucky to have a lot of help from my other sister-in-law, Emma, and my Mum, which made life so much easier. When it came to decorating the venue, there was only so much we could do to transform a slightly dated church hall into a room fit for a baby shower. But I think we did a pretty good job! The main part of the decoration was a range of different balloons. We found some rainbow pastel balloons, which we blew up and hung on the door so that our guests knew where the party was happening. We also found a couple of adorable foil balloons – one with an elephant in a bath and a giant baby, which we took to a local balloon shop to be filled with helium. Lastly, we found some latex rainbow balloons, which matched the elephant on the foil balloon. These were also filled with helium and placed up the length of the hallway entrance to the room. 


Above the door, we hung some beautiful personalised bunting, which we discovered on Amazon at a really reasonable price. Emma and I had also made Lisa a nappy cake (our first attempt at making one – we were really pleased with the result!), which we sat on a table just by the door. When Lisa came into the building, you could tell what a lovely surprise it all was and she seemed really pleased with all the little touches.


We had decided to base the party around an afternoon tea (because everyone loves tea, scones and cakes right?!) so we set out tables and chairs, and then covered the tables with pretty cloths to try and make it feel less like a church hall! We managed to gather together some beautiful tea sets between us, which looked perfect sat on the tables next to the lovely IKEA lanterns. Around the room we also hung lots of vintage-style bunting and fairy lights to try and make it feel as much like a cosy tearoom as possible. 


As well as the tea and cake, we also wanted to include a variety of activities to keep everyone entertained. This is where Pinterest came in very handy – I got so much inspiration browsing through pins from other people’s baby showers! The first game we played was ‘Pin the Dummy on the baby’, which seemed to bring out rather a lot of cheating behaviour! In the end, we concluded that players shouldn’t have the opportunity to feel the board too much before sticking the dummy on, as we ended up with a lot of dummies very close to the baby’s mouth! 


There were also some quieter activities that people could do as and when they fancied it. One of these was called ‘Baby’s First Alphabet Book.’ It was basically a pile of white card, with each piece having “A is for..,” “B is for…” and so on written at the top. The idea being, that each person at the baby shower would draw and colour in a picture (or two!) that matched the letter of the alphabet on the card. Once they were all completed, the pile could be joined together to make an alphabet book for the new baby (and a lovely keepsake for the Mum-to-Be). For another game, we had a couple of baby bottles filled with sweets (counted out by my Mum!) Everyone then had to place their guesses for how many sweets were in each bottle and write them on the chart against their name. The person whose guess was the closest would win the bottle (and the sweets!) to take home.


I always think photos are a brilliant way to create lasting memories, but I know it can sometimes feel a bit awkward when you’re in a larger group and you don’t necessarily know everyone. So we decided to have a photo booth corner with some cute new baby related props to encourage everyone to take some funny photos. These pictures could then be shared with Lisa, meaning she can then print them out and make a keepsake album or add them to her pregnancy/baby book. 


I don’t think you can have a baby shower without asking everyone to dig out a baby photo or two! We decided that, for another game, we would ask people to guess which baby photo matched to each guest. So, before the party, I contacted everyone and asked them to send me over an old photo of themselves. I then arranged these on pieces of card and make some little forms that each guest could fill in. It was so much fun looking through all the photos (some more embarrassing than others!) and trying to guess who was who. It definitely helped to break the ice a bit too. 


Another guessing game was to ask everyone to make their predictions about the new baby – I always think it’s fun to see what sorts of things people go for, and I know it’s quite interesting for the Mum and Dad-to-be to look through once baby has arrived to see if anyone was correct! Again, I just put together some paper forms so guests could record their predictions for date and time of birth, weight, length, hair colour, eye colour, gender and name suggestions. Some of these were easier to guess than others – for example, none of us really knew how long a typical baby was!


I was really conscious of making sure that Lisa had some keepsakes from her special day, and I found these beautiful cloud-shaped advice cards, which I thought would be nice for her to look through after the party. On Pinterest I also came across a lovely ‘Wishes for Baby’ printable and again, thought this would be a nice keepsake for the Mum-to-be. 


Our final two games definitely brought with them the most laughs! Firstly, we did a blindfolded nappy changing game. We split into two teams and the winners were the fastest team to all change a nappy blindfolded. We had some rather interesting nappies, which I'm pretty sure wouldn't have lasted long on a real baby!


For the other game we covered a selection of baby food jars with numbers, and then everyone had to guess what flavour/meal each one was by smelling and tasting each jar in turn. Eating baby food isn’t something any of us had ever really done before, so it was interesting to say the least! All I can say is, some tasted a lot nicer than others did! 


We did a bring and share with the food to take the pressure off us providing everything. We ended up with a yummy selection of sweet and savoury foods, and there was plenty to go around. My sister-in-law, Emma, made some delicious cupcakes and we found these cloud toppers to match the cloud-shaped advice cards. They looked brilliant cascading down the cake stand, popping out against the rainbow sprinkles. We also found some grey and yellow elephant confetti to decorate the table with.


One of my favourite parts of the baby shower décor was the amazing cake my friend Mel, from The Cake Revolution made. She’s made a few cakes for me over the last few years, so I knew I could count on her to do something perfect for such a special occasion. I sent her over a few photos of cakes I’d found online that I quite liked, all including elephants in one way or another, and she worked her magic making this beautiful Mother and Baby elephant cake. It tasted delicious too!


I couldn’t believe how quickly the party went, and it was soon time for everyone to start heading home. Before everybody left, I asked them to leave Lisa (and Richard!) a message in this beautiful guest book so that they had something special to look back on in years to come. We also had a little basket of favours for people to take home. After lots of browsing through favour ideas on Pinterest, I decided to buy a box of fruit teas in individual envelopes and tie a ‘Baby is Brewing’ tag onto each one. They looked great and received a lot of compliments from guests as they took one home with them. 

Despite the organisation being a little stressful at times, I was so pleased with how it all turned out and was happy to see Lisa and her friends enjoying it all. Hopefully it left her with lots of happy memories before the new arrival. And I hope this post might have offered you some ideas and inspiration if you’re planning your own baby shower sometime soon.

What do you think of all the decorations and games that we came up with for Lisa’s baby shower? Are you planning a baby shower soon?


Thursday, 23 August 2018

Disneyland Paris Planning Tips


I may have mentioned once or twice (OK, who am I kidding…I haven’t stopped talking about it for the last year!) that we are going on a family holiday to Disneyland Paris in September. We’ve been once before, but it was ten years ago, so I feel like we’re approaching it as first timers again. This time round, I’ve done a lot of planning to help make sure we have the best time possible and experience everything we want to experience. To do all this planning, I’ve spent literally months researching everything you could possibly need to research, so I thought I would share some of the advice and tips with you that I’ve discovered. I can only speak from the point of view of a prospective holidaymaker, as we haven’t had a chance to actually put all this research and planning into action yet. But perhaps once I’m back, I can do another post about what I learnt on my Disney holiday and what we would do differently/the same next time. I’ve split my planning into smaller sections, so hopefully it will be a little less overwhelming!

General Planning:

One of the best ways I have found to plan for our Disney trip was by watching YouTube videos and reading blog posts. There’s so much Disney content out there that pops up with a quick search – you can pretty much find information on anything you could possibly think of. I will say that I found it easier to find content about DisneyWorld Florida though, which is why I wanted to create some content about Disneyland Paris. 


I’ve got a few favourite YouTubers/Bloggers who make fantastic Disney content, so I thought I would share them with you. Even if you’re not planning a trip to Disney any time soon, I can guarantee you will still enjoy their Disney videos and blog posts! They are:
·     Brogan Tate
·     Sarah Louise Porter
·     Brummy Mummy of 2
·     Louise Pentland
·     Alex Gladwin and blog
·     Lara Joanna Jarvis and blog


Another invaluable resource has been the Facebook group ‘Disneyland Paris for Brits’. It was recommended to me by a friend and has been so incredibly helpful with all my planning for our trip. There are thousands of members who discuss every possible detail you can think of including hotels, travel, disabled access, food, photos and so much more. I’ve asked quite a few questions over the last few months, and you always get a really helpful reply from someone that has already been to the park. 

Booking:

When booking your Disneyland Paris holiday, my biggest recommendation would be to look out for deals! Whenever I’ve looked at holidays to Disney (yes, I do sometimes just like to pretend I’m going to Disney and dream about holidays!), I have always found there’s a good deal to be had. Whether that’s getting a meal plan free or a couple of extra nights added on to your package, it’s always worth looking around to make sure you get the best deal you can possibly get.


We booked our holiday with the Walt Disney Travel Company, paying for two nights and getting another two nights for free. We probably wouldn’t have been able to afford to stay for a whole week if we hadn’t used that deal, so it’s definitely worth doing a little research and perhaps holding out a week or two if you can’t find a deal first time. 

Travel:

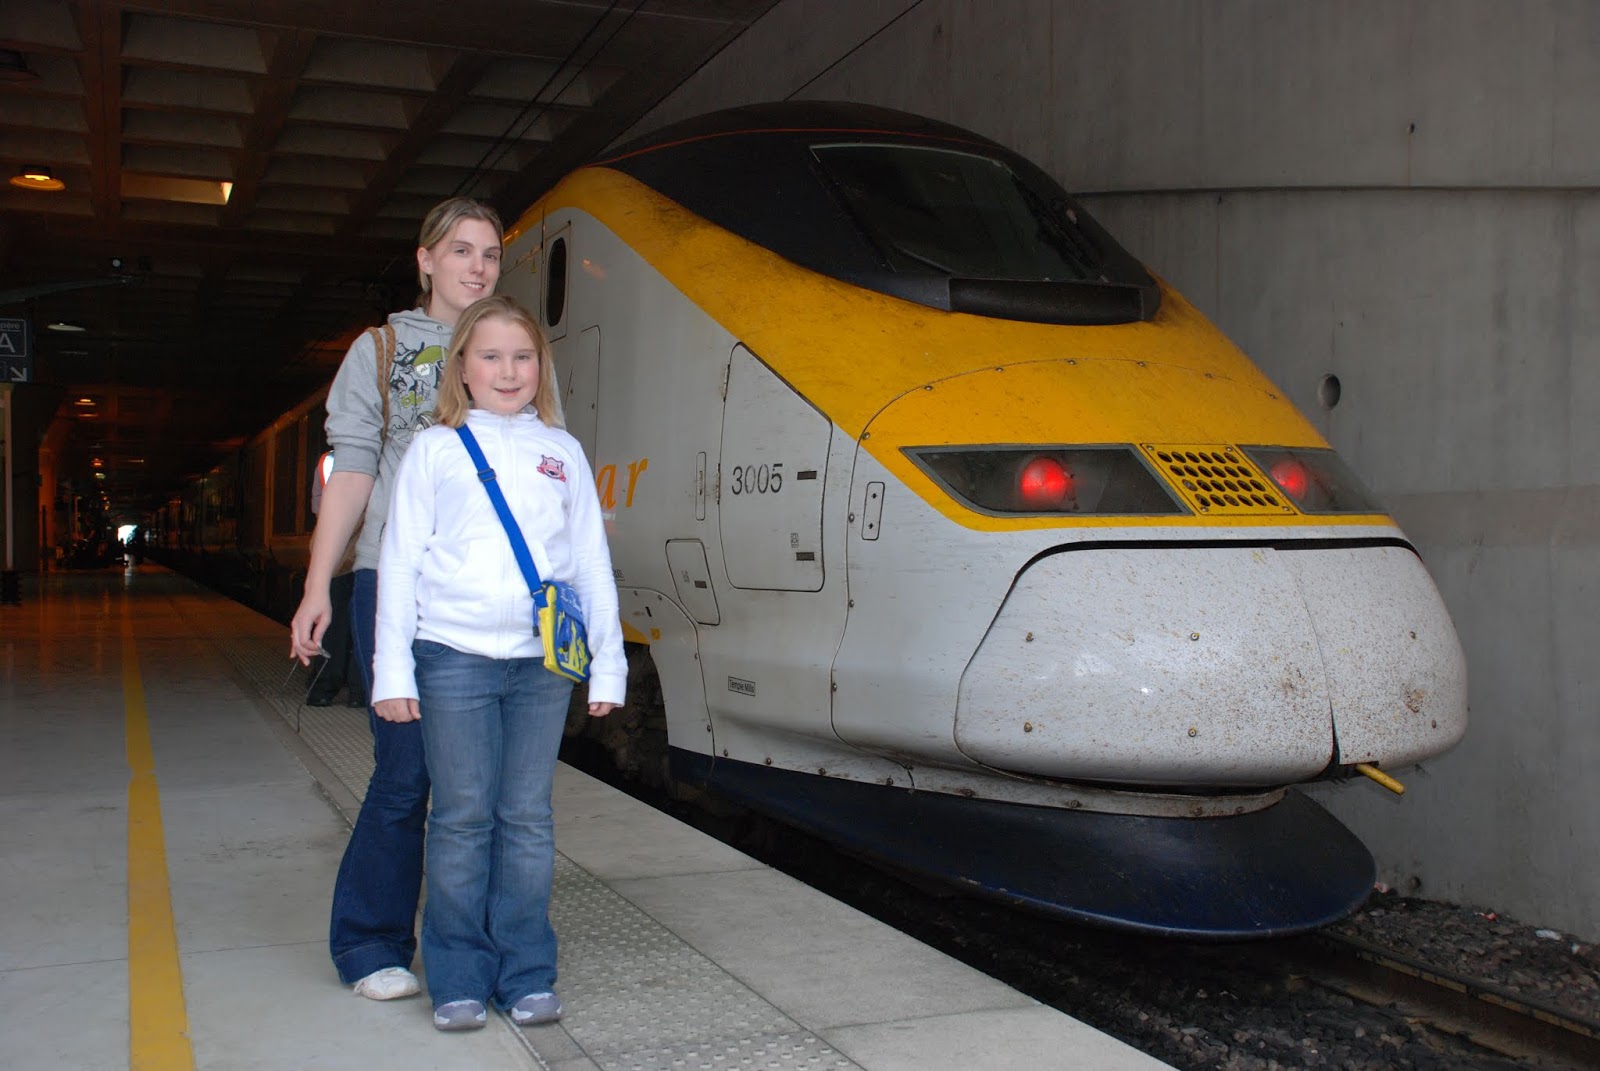
As you plan your holiday, you’re going to need to think about how you want to travel there. There are all sorts of different options from the Eurostar or Eurotunnel to taking a ferry or flying. The one you choose will depend on a number of things – where you’re travelling from, what you can afford, whether you want to take your own car and your own personal preferences. We decided to travel by Eurostar, as we don’t live too far from London so a taxi to St Pancreas is going to be relatively easy. The train also goes straight into Disney, so as soon as you get out of the station you are right in the middle of the action without having to worry about transfers. When we rang to book our holiday, the Disney cast member actually advised us to book the Eurostar tickets separately, as it would work out cheaper, so it’s worth considering that before you book the whole thing together.


With the Eurostar, you can also add something called Disney Express Luggage and Advance Check-in Service, which basically means you can go directly to the parks without having to check-in to your hotel first and your bags will be waiting for you at your hotel. We did this when we went ten years ago and it was really handy, but back then it was included in the price. Now, you have to pay extra for the service and we decided that it would be better for us to just sort out our own bags and check-in. But it’s something to consider if you want a completely hassle free start to your holiday.


Accommodation:

Another part of your trip to think about is where you’re going to stay. Again, there are a lot of different options depending on your budget, how close you want to be to the magic and the type of place you want to base yourself in. There are eight different Disney Hotels, which vary in price from the most expensive (the Disneyland Hotel) to the slightly more basic (Davy Crockett Ranch). If you stay in a Disney Hotel, you get Extra Magic Hours, which means you can get into the parks an hour before the general public. Great for if you want to beat some of the queues and ride the most popular rides or meet characters without too many people around. There is also a free shuttle bus, which will take you from your hotel to the parks and back again (apart from for the Davy Crockett Ranch). Each hotel offers something slightly different, so it’s worth having a read about each one to find one that suits what you’re looking for. We’ve opted to stay in Disney’s Hotel New York, which will soon be closing down to be refurbished, so it will be nice to have a chance to stay before it changes completely. 


To stay in a Disney Hotel is probably the most expensive option, so if you’re not so bothered about the benefits staying in one brings, it might be worth looking at the Partner Hotels. These are slightly further away from the parks and don’t come with the bus and extra hours facilities, but still do have a lot to offer. Again, they have varying rankings and offer different facilities, so there should be something to suit every budget.


If neither of these options appeals, there are plenty of other places to stay nearby. There will be other hotels that aren’t connected to Disney at all, or there are plenty of Air B’n’B options if you’d prefer to be in a self-contained place. 

Dining:

Possibly the most important part of any holiday is the food! Disneyland Paris offers plenty of places to grab a bite to eat, but it’s worth thinking about how you want to approach your dining. Disney offers Meal Plans, which you pay for in advance and will cover some or all of your meals. You can choose between Breakfast, Half-Board or Full-Board, then each type also has different levels depending on the type of restaurants you want to eat in. At first we didn’t think paying for a meal plan would be worth it, but after looking at the menus and working out how much we were likely to pay if we paid as we went along, we realised getting a plan would actually save us a lot of money. So we have gone for the Half-Board Plus Meal Plan, which means we get breakfast in our hotel, and then either lunch or dinner in a choice of more than 15 different restaurants. 


I would also highly recommend booking your meals in advance, especially if you’re looking to go to the most popular restaurants, as they fill up exceptionally quickly. You can ring 60 days before your holiday, which is what we did and the cast member was so helpful with getting everything we wanted booked in. If you book your holiday with the Walt Disney Travel Company, there will be a UK number on your paperwork. Otherwise, there is a French number on the main Disneyland website – I’d suggest either ringing early in the morning or late in the evening so you’re not on hold too long and therefore not having to pay too much for the call. 


I thought you might be interested to hear what our plan is for eating while we’re away. Most mornings we will be having breakfast in our hotel, so I haven’t added that to the plan. We also haven’t booked our lunches/lighter meals, so these may change once we’re there, but we thought it was a good idea to have a plan to aim for. This is our idea so far:

·     Monday lunch – Bistrot Chez Remy (We’ve booked a late lunch for 3pm, as they don’t serve dinner here)
·     Monday dinner –Planet Hollywood/Rainforest Café 
·     Tuesday lunch –Earl of Sandwich
·     Tuesday dinner –Cape Cod – 7pm
·     Wednesday lunch –Casey’s Corner
·     Wednesday dinner –Hunter’s Grill – 7pm
·     Thursday breakfast –Plaza Gardens – 9.45am (This is a character breakfast, so we will need to pay a top up, as it’s not included in the meal plan)
·     Thursday lunch –Colonel Hathi’s Pizza
·     Thursday dinner –Inventions – 7pm (Again, this is a character meal, so we will need to pay a top up)
·     Friday lunch –Vapiano

Disability:

Travelling anywhere when you have a disability can be anxiety provoking because there seems to be so much more planning needed than for able-bodied people. Obviously this advice will depend on what your disability is (or whether you have one at all), but I’ll try and cover everything that is likely to help me. If you don’t know, I’m chronically ill and use a wheelchair, so travelling and going abroad isn’t the easiest of things to do! The first thing I want to address is disability access on the Eurostar. When we rang up to book our tickets (months in advance) we were told there were no wheelchair spaces on the train we wanted to go on. So we asked about other trains on the same day/other days and again, were told there were no wheelchair spaces. It turns out that each Eurostar train going directly to Disney only has space for two wheelchair passengers, which I personally think is crazy considering how huge the trains are. It’s putting disabled people who want to travel at a massive disadvantage. We had to decide whether to cancel our holiday or try and work around it, so we rang back and they said we could bring my manual wheelchair (I had really wanted the independence of having my electric wheelchair) and fold it up, but that we would probably need to upgrade out of standard class so there would be room to store it. So we ended up doing this, and paying for the privilege. I’m personally pretty hacked off about having to pay a higher price to travel just because I need a wheelchair – I think it’s downright wrong. So, if you need to travel by Eurostar in your wheelchair, I would recommend signing up to their newsletter and booking tickets as soon as they come out to try and make sure you get one of the two wheelchair spaces. 


Once you actually get to Disney, there are certain things you can do to make your holiday a bit more relaxed and enjoyable. If you have a disability, you an get something called an Access Card by either going to Donald Desk, City Hall or Studio Services when you arrive. You will need to provide evidence of your disability (so something like a Blue Badge, PIP/DLA letter, Medical Certificate etc.) but it’s best to check what evidence is accepted for your specific disability before you go. There are two types of Access Card:

·     Priority Card – for anyone officially registered as disabled
·     Easy Access Card – for guests with a temporary illness and for pregnant women

The cards have a number of benefits, although these do vary depending on the type of card you have. But they can include:

·     Not having to queue for rides
·     Accessing rides through specially adapted entrances
·     Access to specially designated areas for parades and shows (so you can actually see if you’re in a wheelchair!)
·     You can take up to four helpers with you as well


If you have a registered disability, you can also claim back the cost of the Disney Parks admission for one helper, as long as you have your official disability documents. I know this will be a massive help for us, as I wouldn’t be able to travel and access the parks without a carer. There are also accessible rooms in the hotels, which you can ask for when you ring up to book your accommodation. And Disney also produce Accessibility Maps, which contain information about accessibility on all rides, restaurants and attractions within the parks. 

In the Park:

To round this post off, I thought I would also share a couple of tips to help you when you’re out and about in the parks themselves. Firstly, there are a couple of apps, which I would really recommend downloading (they’re both free!) The first is the MagiPark App which allows you to keep a track on waiting times for rides, rather than having to go to the actual ride to find out. This means you can be enjoying other things around the park whilst keeping an eye on the waiting time for your favourite ride. As soon as the time goes down, you can head on over and join the (hopefully shorter!) queue. The app will also tell you which attractions are experiencing momentary service interruptions or closures, where restaurants are and where the nearest toilets are too. 


Another app that will be good to have while you’re in Disney is the official Disneyland Paris App. This app also allows you to check wait times for attractions in both parks and makes exploring easy with GPS-enabled maps that show your location and the attractions, restaurants, shops and more near you. It contains information about timings for parades and entertainment, as well as park hours, accessibility information and descriptions of attractions to help you plan your days to be as fun-packed as possible. 

The final thing you may want to consider is whether buying a PhotoPass+ would be a good investment for you and your family. There are official photographers at all Disney Character Meet & Greet Attractions, as well as a few dotted around the parks, who will be more than happy to take great-quality photos of the whole family. Buying the PhotoPass means you get all of these photos, plus your ride photos as high quality digital image files. It is valid for 10 days from first use and the photos will be available for one year after that, so it’s worth transferring them to somewhere more permanent once you’re home from your holiday. You can buy the pass either at the beginning or end of your holiday (I believe there’s a slight difference in price if you buy in advance). We’re considering splitting the cost between the five of us, as I’ve seen other people’s photos and they really are lovely.


And that’s everything – phew! I really hope that if you are planning a trip to Disneyland Paris, these tips will help you on your way. Hopefully when I get back, I can do a round up of things we learnt on the holiday to give you some tried and tested advice too. If there are any other blog posts related to Disneyland Paris that you would be interested to see, please do let me know. You can also watch the video I made in conjunction with this post over on my YouTube channel.

Are you planning to go to Disney any time soon? Or are you just a massive Disney fan like me?!